Clair Mieluk

Clair Mieluk

Thursday, 27 November 2014

Cocoa Protein Balls...

I don't think you should ever feel guilty about treats and snacking and giving into cravings as long as you're careful not to over indulge... which is hard to do most of the time!

Don't get me wrong, it's not like there is anything necessarily 'good' about this recipe (other than the taste of course), but the all natural ingredients and portion sizes don't make it bad for you either :)

So if you're after a guilt free, satisfying snack that you can have enough of without running to the gym to burn off a million calories or collapsing into a heap of emotional regret, then these will do the trick.
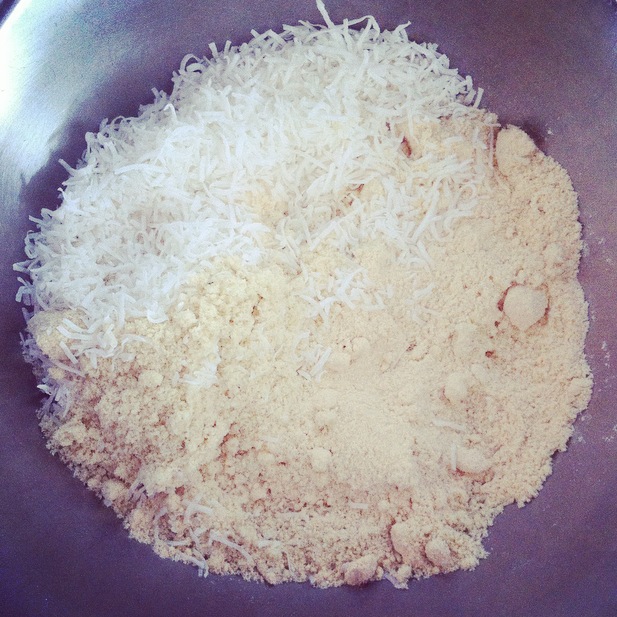

Mix


- 1/2 cup almond meal
     
- 1 1/2 cups of 100% whey protein powder (vanilla)

- 1/2 cup shredded coconut

- 1 tablespoon sifted cocoa powder


Melt

- 3 tablespoons coconut oil

- 2 tablespoons organic   peanut butter

- 3 tablespoons of organic honey


Stir the melted ingredients vigorously to combine before adding to the dry ingredients.

Use your hands to combine the two mixtures and if you think it still seems a little dry, add a tablespoon of warm water and continue to mix.


(clearly I'd forgotten the cocoa powder at this point so I just sifted it in here). Take about 2 teaspoon fulls of mixture into the palm of your hand and roll into a bite sized ball. 


Store in an airtight container in the fridge for up to a week if your cravings don't take over and you eat them all in a day. Recipe makes about 20 balls :)

Sunday, 23 November 2014

The Edible Wonders of Travel...


Oh the sights that you see,

and the experiences that be,

when you travel are wonders to behold.

But the food that you find,

when you're lost and don't mind,

is most often worth it's own weight in gold.


Portuguese custard tarts from Casa Pasteis De Belem - Lisbon


Xuxu from Pasteleria Escriba Las Ramblas - Barcelona


Delicacies from a few places in Europe, 2014.
x o x o x

Saturday, 6 September 2014

Apple and Bluberry Pie...


During a visit to the picturesque Taunus mountain region of Germany to see family recently, we happened upon their bountiful apple tree and found ourselves in harmony on a blissfully rainy afternoon... making pie!


A P P L E  &  B L U E B E R R Y  F I L L I N G...
8 medium sized apples
300g blueberries (fresh or frozen)
3-5 tablespoons of caster sugar
2 tablespoons of cornflour
1 cup of cold water

Peel, core and slice the apples and place half of them in a deep saucepan with half of the blueberries, setting aside the rest of the fruit for later. Add sugar in tablespoons to taste. Depending on how seasonal the fruit is depends on how sweet the end result will be, so it's best to add 3 tablespoons first with the idea that you can add more as you taste it along the away.

Stir the cornflour into the cold water until it has dissolved and add to the saucepan. Stir everything together and simmer on a medium heat for about 20 minutes. Be sure to stir the mixture throughout the cooking process to ensure it doesn't stick to the bottom of the saucepan.

Once the mixture looks similar to chunky jam (you can add more sugar here if you wish), add the rest of the fruit and continue cooking for another 10 minutes, or until the apples are turning soft.


P A S T R Y...
200g soft butter
100g caster sugar
1 egg
50g cornflour
200g flour

Cream the butter and sugar together using an electric mixer, then beat in the egg. Add the flours and fold the mixture into a ball using either your hands or a paddle attachment.

No need to roll out your dough, I just save a small piece to decorate the top of the pie with and then press the rest of the mixture evenly into the pie dish (I have found a ceramic dish is best and prevents the pastry from sticking).

Prick the pastry all over with a fork and bake it in the oven for about 20 minutes on 180oC. When it is a golden brown colour yet soft to the touch it is ready for the filling.


Let the pastry cool for 10 minutes before adding the pie filling and decorate the top with the left over pastry any way you choose!


Bake again in the same oven (180oC) for about 20 minutes, or just until the pastry on top has cooked.


Serve warm out of the oven, or even cold for breakfast the next day as we did :)

Monday, 21 July 2014

Monday, 30 June 2014

Birthday Bubble Cake!


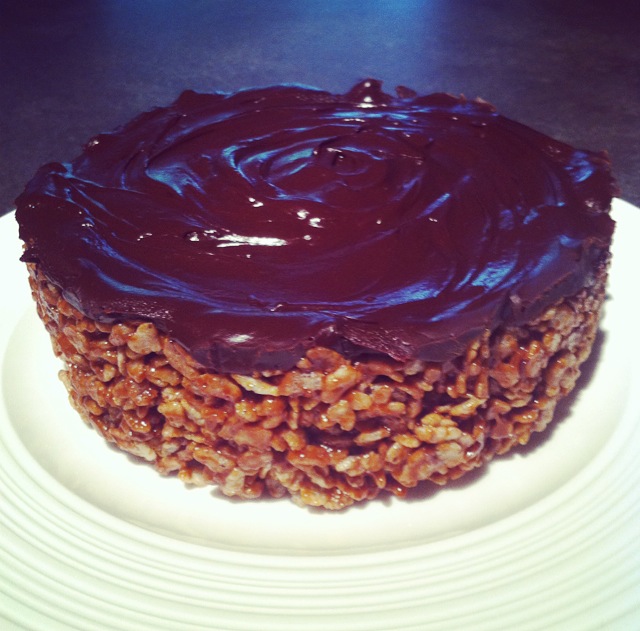
 Mars Bar Slice Cake...

It's my brother bears birthday today and since I can't be there to celebrate I figured I'd recreate an old family favourite of ours and turn it into a cake!


4 cups rice bubbles
100g butter
300g mars bar
250g cooking chocolate
1 Tablespoon milk

Melt the butter in a saucepan on a low heat and add the mars bars. Stir continually until the mixture has melted and combined.


Pour the melted mixture over the rice bubbles and mix until all the bubbles are coated. Press the mixture into a parchment lined cake tin and let it set on the bench for 10 minutes.


Melt the chocolate and milk together over a simmering pot of water and pour over the bubble mixture, spreading it all the way to the edges.

Pop it in the fridge until the ganache has set and then it's ready to eat!


H A P P Y   B I R T H D A Y   L U K E !

Saturday, 14 June 2014

Baileys and Hazelnut Cheesecake...

A special birthday cheesecake for a special birthday guy! This one was a surprise as well so I had to whip it up fast while he was out of the house, it's super easy!

- 3 cups of chocolate cake crumbs (I used a flourless chocolate cake
   but a chocolate mud cake would work nicely as well)
- 450g of cream cheese (generally 2 cardboard packets)
- 237mL of whipping cream (1 small carton)
- 1 cup of Nutella
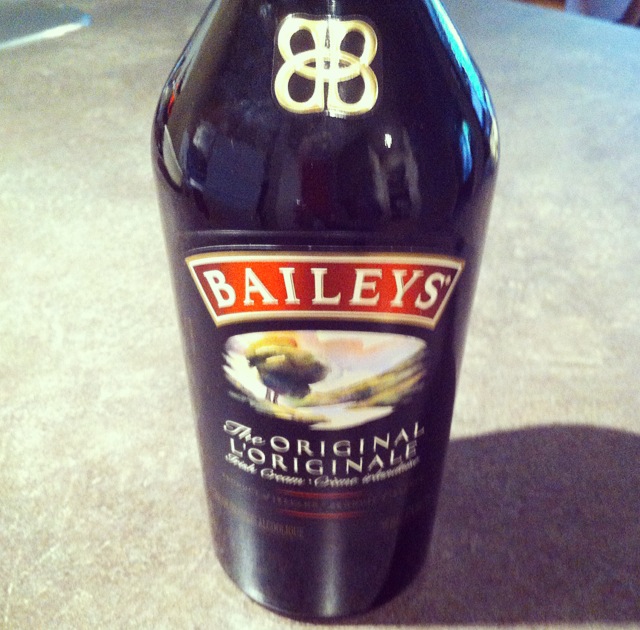
- 1 cup of Baileys

Spray your cake tin with a little oil and line it with cling wrap (this is my secret to taking it out easily). Press the cake crumbs evenly into the bottom of the tin to form the base and chill in the fridge while you make the filling.

Place the cream cheese and Nutella in a microwave safe bowl and heat on high at 30 second intervals for 2 minutes, stirring the mixture every 30 seconds. Using an electric mixer, beat the mixture until the Nutella and cream cheese combine creating a smooth, thick consistency.
Next, add the Baileys and beat again just until all the elements combine. Heat the mixture in the microwave one last time for 1 minute on high, give it one last beat with the electric mixer and let it cool for 15 minutes.


In a separate bowl, whip the cream using an electric mixer until it is thick, light and airy, you don't want it to be stiff though. As soon as it starts to resemble fluffy clouds it's done.
Fold the cream into the cream cheese mixture until it is combined, then pour it into the prepared cake tin on top of the chocolate cake base.


Leave it to chill in the fridge overnight if possible, but if you need to serve it after a couple of hours, I would pop it in the freezer for about 3 hours to set. 
Roughly chop some hazelnuts and chocolate to sprinkle over the top before you serve it.

Im not a huge fan of cheesecake like my other half but just a small piece of this was seriously delicious! As you can see, Mike couldn't keep his eye's off it :)