Clair Mieluk

Clair Mieluk

Saturday, 6 September 2014

Apple and Bluberry Pie...


During a visit to the picturesque Taunus mountain region of Germany to see family recently, we happened upon their bountiful apple tree and found ourselves in harmony on a blissfully rainy afternoon... making pie!


A P P L E  &  B L U E B E R R Y  F I L L I N G...
8 medium sized apples
300g blueberries (fresh or frozen)
3-5 tablespoons of caster sugar
2 tablespoons of cornflour
1 cup of cold water

Peel, core and slice the apples and place half of them in a deep saucepan with half of the blueberries, setting aside the rest of the fruit for later. Add sugar in tablespoons to taste. Depending on how seasonal the fruit is depends on how sweet the end result will be, so it's best to add 3 tablespoons first with the idea that you can add more as you taste it along the away.

Stir the cornflour into the cold water until it has dissolved and add to the saucepan. Stir everything together and simmer on a medium heat for about 20 minutes. Be sure to stir the mixture throughout the cooking process to ensure it doesn't stick to the bottom of the saucepan.

Once the mixture looks similar to chunky jam (you can add more sugar here if you wish), add the rest of the fruit and continue cooking for another 10 minutes, or until the apples are turning soft.


P A S T R Y...
200g soft butter
100g caster sugar
1 egg
50g cornflour
200g flour

Cream the butter and sugar together using an electric mixer, then beat in the egg. Add the flours and fold the mixture into a ball using either your hands or a paddle attachment.

No need to roll out your dough, I just save a small piece to decorate the top of the pie with and then press the rest of the mixture evenly into the pie dish (I have found a ceramic dish is best and prevents the pastry from sticking).

Prick the pastry all over with a fork and bake it in the oven for about 20 minutes on 180oC. When it is a golden brown colour yet soft to the touch it is ready for the filling.


Let the pastry cool for 10 minutes before adding the pie filling and decorate the top with the left over pastry any way you choose!


Bake again in the same oven (180oC) for about 20 minutes, or just until the pastry on top has cooked.


Serve warm out of the oven, or even cold for breakfast the next day as we did :)


Monday, 21 July 2014

Monday, 30 June 2014

Birthday Bubble Cake!


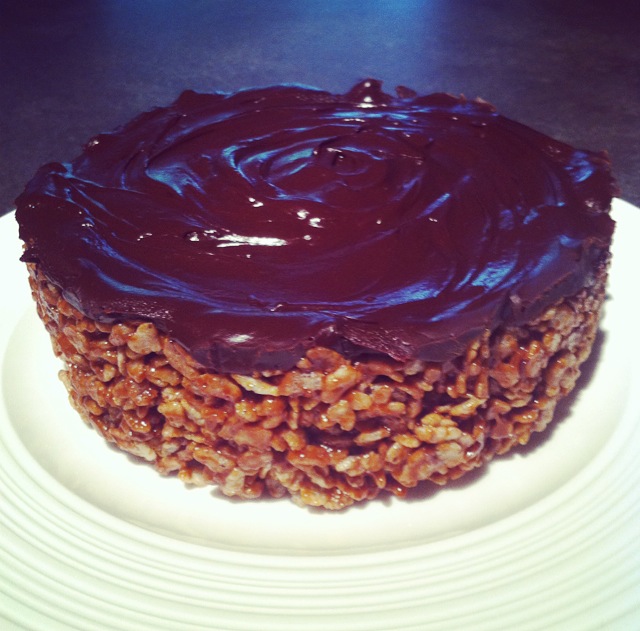
 Mars Bar Slice Cake...

It's my brother bears birthday today and since I can't be there to celebrate I figured I'd recreate an old family favourite of ours and turn it into a cake!


4 cups rice bubbles
100g butter
300g mars bar
250g cooking chocolate
1 Tablespoon milk

Melt the butter in a saucepan on a low heat and add the mars bars. Stir continually until the mixture has melted and combined.


Pour the melted mixture over the rice bubbles and mix until all the bubbles are coated. Press the mixture into a parchment lined cake tin and let it set on the bench for 10 minutes.


Melt the chocolate and milk together over a simmering pot of water and pour over the bubble mixture, spreading it all the way to the edges.

Pop it in the fridge until the ganache has set and then it's ready to eat!


H A P P Y   B I R T H D A Y   L U K E !

Saturday, 14 June 2014

Baileys and Hazelnut Cheesecake...

A special birthday cheesecake for a special birthday guy! This one was a surprise as well so I had to whip it up fast while he was out of the house, it's super easy!

- 3 cups of chocolate cake crumbs (I used a flourless chocolate cake
   but a chocolate mud cake would work nicely as well)
- 450g of cream cheese (generally 2 cardboard packets)
- 237mL of whipping cream (1 small carton)
- 1 cup of Nutella
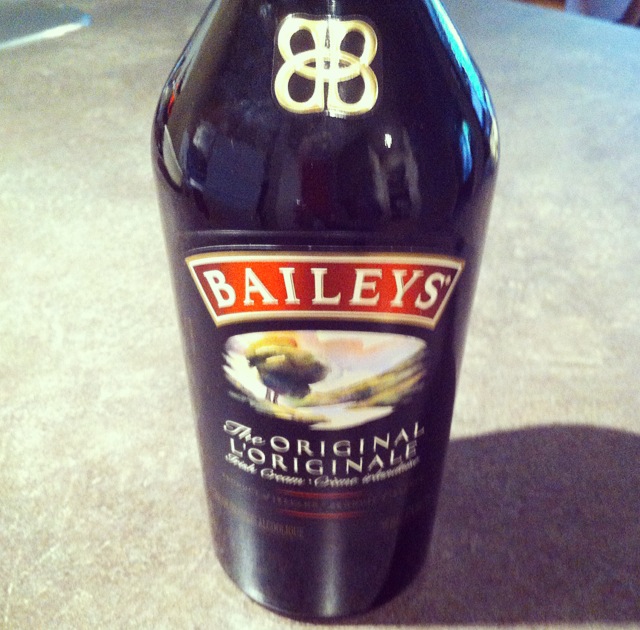
- 1 cup of Baileys

Spray your cake tin with a little oil and line it with cling wrap (this is my secret to taking it out easily). Press the cake crumbs evenly into the bottom of the tin to form the base and chill in the fridge while you make the filling.

Place the cream cheese and Nutella in a microwave safe bowl and heat on high at 30 second intervals for 2 minutes, stirring the mixture every 30 seconds. Using an electric mixer, beat the mixture until the Nutella and cream cheese combine creating a smooth, thick consistency.
Next, add the Baileys and beat again just until all the elements combine. Heat the mixture in the microwave one last time for 1 minute on high, give it one last beat with the electric mixer and let it cool for 15 minutes.


In a separate bowl, whip the cream using an electric mixer until it is thick, light and airy, you don't want it to be stiff though. As soon as it starts to resemble fluffy clouds it's done.
Fold the cream into the cream cheese mixture until it is combined, then pour it into the prepared cake tin on top of the chocolate cake base.


Leave it to chill in the fridge overnight if possible, but if you need to serve it after a couple of hours, I would pop it in the freezer for about 3 hours to set. 
Roughly chop some hazelnuts and chocolate to sprinkle over the top before you serve it.

Im not a huge fan of cheesecake like my other half but just a small piece of this was seriously delicious! As you can see, Mike couldn't keep his eye's off it :)


Thursday, 29 May 2014

The Best Ever Chocolate Cookie...


I'll be the first to admit, that I don't really like cookies... Blasphemy I know! But if you give me something as chocolatey and gooey and scrumptious as this and call it a cookie, I'm willing to throw caution to the wind and chow that bad boy down like I'm practicing for a food eating contest.

Trust me when I say you will not be disappointed...

To make 10 cookies you will need:

- 200g dark chocolate, melted
- 3/4 cup white sugar
- 2 eggs
- 1 teaspoon vanilla essence
- 1/4 cup white flour
- 1/2 teaspoon baking powder
- 1/2 teaspoon salt
- 1/3 cup walnuts, chopped
- 1/3 cup white chocolate chunks
- 1/3 cup dark chocolate chunks

Start by beating the eggs and sugar with an electric mixer until the mixture is thick and pale.

Add the melted chocolate and vanilla essence and fold in with a spatula. Mix together the flour, baking powder and salt in a separate bowl before adding to the chocolate mixture, and fold in until just combined.
Fold through the walnuts and chocolate chunks at this point and pop the mixture in the fridge for 15 minutes to chill. This will thicken the mixture a little just before baking and prevent the cookies from spreading into each other.


Spoon a heaped dessert spoon of the mixture onto parchment paper until all the mixture has been used up (I usually get 10 cookies out of it).


Bake at 175oC for 12-15 minutes. The cookies will crack on top and look like melted chocolate between the cracks. Let them sit for 10 minutes to ensure a crust forms on the outside and they won't fall apart.

I guarantee you will want to eat them all in one go!

Monday, 19 May 2014

Choc Chip Banana Brownies

Brownies are yum. Let's make some!

You will need:
 - 1/4 cup milk
 - 1 tbsp lemon juice
 - 1/2 cup soft butter
 - 1/2 cup sugar
 - 2 eggs
 - 1 tsp vanilla
 - 2 cups of wholewheat flour (you can use white flour if you prefer)
 - 1/2 tsp baking powder
 - 4 overripe mashed bananas
 - 2/3 cup dark chocolate chips


Mix together the milk and lemon juice, this will curdle the milk which helps keep the brownie soft. Put it to the side while you cream the butter and sugar using an electric mixer. 
Throw in the eggs and vanilla essence and beat until just combined.


 In a separate bowl, mix together the flour and baking powder before adding it to the rest of the batter and folding in with a wooden spoon. Add the mashed bananas and chic chips and fold again untill everything is combined.


Pour your mixture into a large baking dish lined with baking paper and bake at 180oC for 40 minutes. It's always good to check on your cakes halfway through baking and to use a wooden skewer to check if the centre is cooked. If the skewer comes out clean or with a crumb on it then it's ready!


Best served with company and a hot cup of joe xx


Saturday, 17 May 2014

Homemade Vitamin H2O...

Springtime has well and truly arrived in Whistler and what a treat it is to be able to walk the trails and bike ride out to the beautiful lakes here!
Sweating off that winter coat is a big factor when partaking in these sunshine filled activities and it always leaves me with a mighty thirst and 0 stamina by the end of the day.
Vitamin waters are a perfect pick me up but can be quite expensive and do we really know what is in them?


Here's a home remedy to beat those lazy afternoon blues and pump your system full of vitamin H2O!


You will need:

 - 6 cups of water
 - 1 orange, quarted
 - 1 lemon, quarted
 - 1 cup of pineapple slices
 - 1/2 cup of frozen raspberries
 - 1 Tablespoon of honey


Add all your ingredients to a saucepan and simmer on a low heat until the honey has dissolved (about 5 minutes). Taste the liquid at this point, you may like to add some more honey depending on the tartness of your fruit.


Strain the liquid into a large jug squeezing the oranges and lemons and squashing all the juice out of the pineapple and raspberries.
Chill in the fridge and it'll be ready to drink post workout!

Vitamin C and antioxidants will contribute to immune support and fructose will raise those energy levels so you can get on with the rest of your day :)