Clair Mieluk

Clair Mieluk

Wednesday, 30 April 2014

Caramel Banana Cream Cake...

I needed to whip up something fancy and quick! It's moments like these I'm thankful to have a freezer full of cake :p

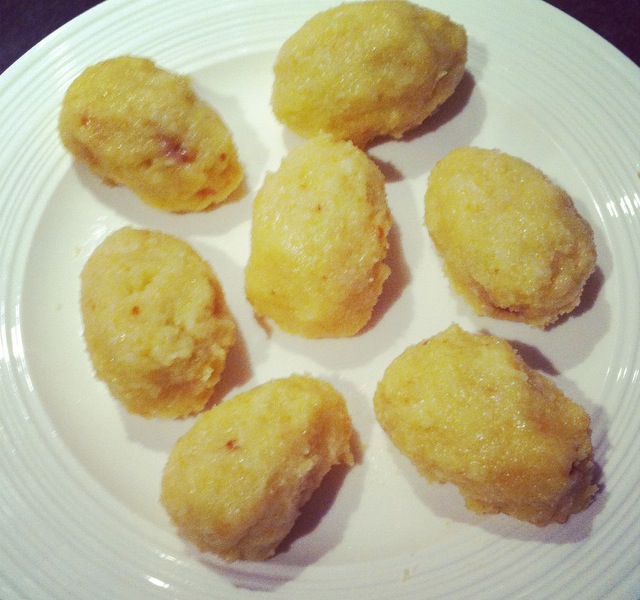
My trusty fiancĂ© tried his hand at making my profiteroles for the first time and they turned out to be such a treat! We filled them with caramel cream which is essentially whipped cream mixed with a little salted caramel, ah-mazing.

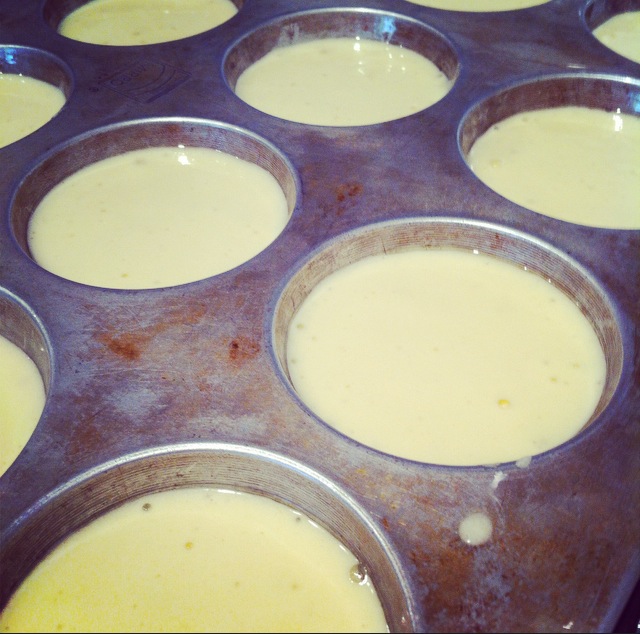
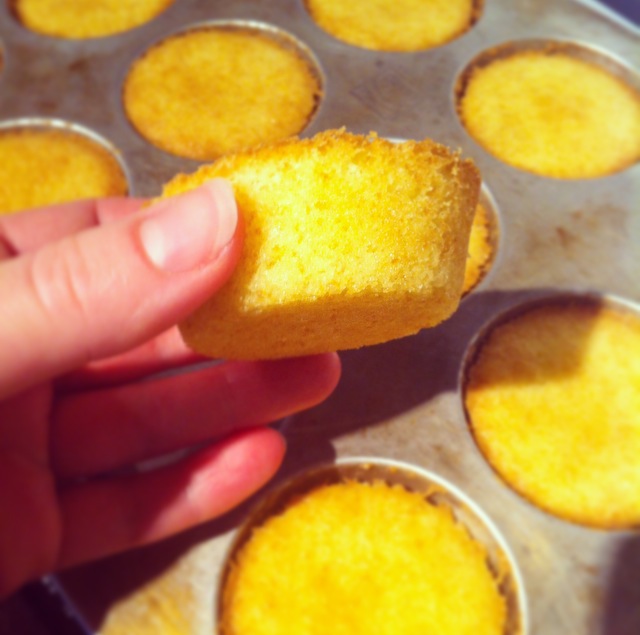
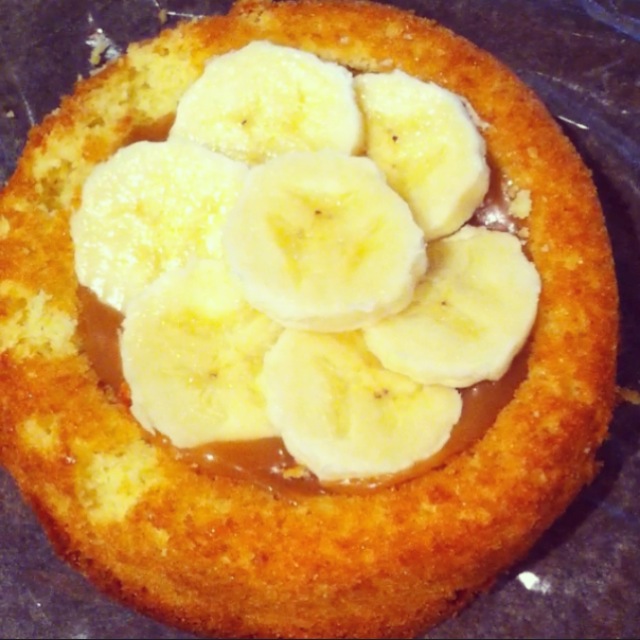
Then I layered a vanilla sponge cake with salted caramel, banana slices and whipped cream and tied it all together with a layer of salted caramel buttercream. Again, this is just your regular butter cream with a lashing of salted caramel.


We dressed the profiteroles with chocolate and stacked them high while the chocolate was still melted, this way they stick together nicely! To finish it off I coated some strawberries with chocolate and filled in any gaps, it's nice to have some fresh fruit on hand while you eat this decadent little masterpiece as it is VERY rich.


Sunday, 20 April 2014

Dinosaur Easter Eggs...


They're just like cake pops with a surprise inside :)
This recipe makes 8 and is perfect for cooking with kids...


^ Just take 2 cups of cake crumbs and mix it with 2 tablespoons of buttercream icing.

> Divide the mixture into 8.

Take one section of the mixture in the palm of your hand and press a caramel filled easter egg into the centre.

Wrap the cake mixture around the egg and gently roll it into an egg shape.


< Put these eggs into the freezer until they are chilled and firm enough for you to handle.

Melt some white chocolate and douse the egg shaped balls with it.

Place back on some greaseproof paper and pop them in the fridge until the chocolate has set.


Now they're ready to eat, um nom nom!


Sunday, 13 April 2014

Choc Rice Bar...

I'm not a true believer in coconut oil being necessarily good for you, it is of course a source of saturated fat, derived from plants instead of animals. However, it's a much lighter and smooth textured oil just perfect for so many recipes, here's one I experimented with!

I've been toying with the idea of a homemade muesli bar with an oat and cereal substitute. Sometimes I find oat bars unpleasantly chewy and floury and puffed cereals can be fun but they're mostly made of air. Brown rice was my go to carb in this easily prepared bar as it's nutty flavour works perfectly in a muesli inspired slice!


  Mix 4 tablespoons of coconut butter with 3 tablespoons of cocoa and 3 tablespoons of honey (you can microwave it for a few seconds if the oil is too solid to mix).


Add 1/2 a cup of your favourite chopped dried fruits (I used apricots and cranberries).


Then mix in 1/2 cup of brown rice and 1/2 cup of your favourite toasted nuts (I used walnuts and macadamias).


Once the mixture is combined, spray a rectangular dish with oil before lining it with cling film and spooning in the mixture. Flatten the mixture into the dish using it as a mould and sprinkle the top with any nuts or dried fruits for aesthetic appeal.


Pop it in the fridge until it has hardened, then take it out of the mould and cut into slices.

Keep it stored in the fridge as coconut oil has a tendency to melt at low temperatures.

Enjoy you're personalised chocolatey rice bar with a few added health benefits so you don't have to feel so guilty ;)

Sunday, 6 April 2014

Leni's Little Lemon Eggs...


Leni's mum actually inspired these cute little lemony easter treats and they are almost as sweet as her 2 little daughters :)


Sponge cupcakes:
2 eggs
1 cup white sugar
1 teaspoon vanilla essence
1 cup flour
1 teaspoon baking powder
pinch of salt
1 tablespoon butter
1/2 cup milk

Beat eggs with an electric mixer for 3 minutes before adding white sugar and beating for a further 4 minutes until the mixture is pale and fluffy. Add vanilla essence and mix until combined.

Sift together flour, baking powder and salt. Add these dry ingredients to the egg mixture and mix only until it is just combined.

Melt butter and milk together (either microwave or stove top) and again add this to the mixture until it is just combined.

lightly grease a cup cake tray and fill each cup about 3/4 full. Cook at 180oC and do not open the oven for the first 10 minutes. After this time, cakes are ready when a skewer inserted comes out clean.


Lemon Curd:
4 egg yolks (save the whites for later)
1/2 cup white sugar
1 tablespoon butter
2 Lemons

This was my favourite part, its soooo easy and delicious! Just make sure you stay with it, don't get distracted or it will burn (speaking from tonnes of experience trust me).

Peel and juice the lemons and set aside.

Whisk egg yolks with white sugar in a saucepan and set on a low heat. Add butter and stir slowly until it melts.

Add the lemon peel and juice at this point and gently stir for 5 minutes. Take out the lemon peel as it has had enough time to infuse  and continue to stir until the mixture thickens. (This could take about 15 minutes). The mixture will also thicken as it cools, so pop it in the fridge, covering the top with plastic wrap to ensure it doesn't form a skin.


Marshmallow frosting:
4 egg whites
3/4 cup white sugar

Slowly whisk the egg whites and sugar in a bowl by hand over a simmering pot of hot water for  approximately 10 minutes, until the egg mixture is hot to touch. Then remove from the stove.

Using an electric beater, beat the egg mixture on high for about 10 minutes until stiff peaks form and the mixture has cooled.


To assemble the cakes, scoop a small hole out of two cupcakes and fill each one with lemon curd. Stack them on top of each other so that the lemon curd forms the centre of the cake.


Completely coat each cupcake stack with marshmallow frosting and it's ready to serve!


Om nom nom, fluffy, lemony and seriously sweet just in time for easter!


Saturday, 29 March 2014

Roast Chicken Salad...


Got a favourite meal that's just too naughty to eat all the time? why not try turning it into a salad? Here's how we like to eat our roast chicken dinners, cutting the calories without curbing any flavour!

Serves 3-4

You will need:

- Roast chicken pieces (choose whatever part of the bird you like most, we use thighs)
- 4 medium potatoes, peeled and diced
- 1 bunch of asparagus
- 2 large handfuls of green beans
- 1 punnet of cherry tomatoes
- 1 spanish onion
- 6 cloves of garlic
A whole bunch of parsley

 Prepare all your ingredients while the oven warms to a hot temperature (roughly 200oC).

Asparagus and tomatoes can be placed on an oven tray along with sliced red onions and peeled garlic cloves as shown in the picture.

 When the oven has reached temperature, put the potatoes with some oil in first, followed by the chicken in a separate dish roughly 15 mins later.

Roughly chop the parsley, stems and all, and add it to a large serving bowl.

When the potatoes and chicken are 10 minutes away from being ready, blanch the halved green beans in boiling water and place the asparagus, tomatoes, red onion and garlic in the oven to roast.

You will know the chicken is cooked when you pierce the thickest part and the juices run clear.

Once it is ready, pull it apart with 2 forks while it is still hot and add it to the large serving bowl.


As the remainder of the roasted vegetables come out of the oven add them to the serving bowl as well.

We like to serve ours with a lemon vinaigrette before giving it a final toss to serve!


B O N    A P P E T I T !


Saturday, 8 March 2014

Caramel Banana Cups...

I can’t stand letting anything go to waste in my home (my fiancĂ© will agree that sometimes it get’s a bit extreme), in particular, brown bananas! As most of you know, the completely overripe stage where they look, feel and taste horrendous can be transformed into a delicious delicacy with a little persuasion…


You will need:

80g butter, at room temperature
1/2 cup brown sugar
2 eggs
3 bananas
1 teaspoon vanilla essence
1 cup all purpose flour
1/2 teaspoon baking powder
1 pinch salt

1.     Turn the oven onto 180oC and grease a cupcake mould with canola oil spray.
2.     Cream the butter and sugar using an electric mixer.
3.     Beat in the eggs until combined.
4.     Peel and chop the bananas into small chunks then fold into the mixture. along with vanilla essence.
5.     Mix together the flour, baking powder and salt, then fold this into the mixture as well until ingredients are just combined.
6.     As this recipe does not rise very much you can fill each cupcake mould up to 3/4 full and bake in the oven for 10 minutes.
7.     Once cakes have cooled, whip together 1 part butter with 3 parts icing sugar and a teaspoon of vanilla essence. Spread or pipe a tablespoon of buttercream over each banana cup.
8.     To finish, drizzle each cup with warm caramel (see ‘salted caramel’ recipe from January 2014).


Don't be afraid to cook special treats so often, it's much more fun to share the love with neighbours, friends and family!

Wednesday, 5 March 2014

Fanco's Pavlova...

Franco is here and he just had a very special birthday, so what better way to celebrate then with his favourite cake, PAVLOVA!!!


Recently having experimented with a chocolate pavlova, I knew this one would be easy peasy, and guess what... it is!

Serves 6 generous pieces (after all, half of it is fruit right?)

You will need: 8 egg whites
               500g of sugar (I roughly poured half a 1Kg bag)

Turn your oven onto a low heat, about 180oC and use a fan forced oven if you can.

Place egg whites in a bowl and whisk on a high speed for 1 minute.

Keep the the electric mixer beating while you gradually add the sugar. You will need to beat the mixture for about 15 minutes, until it is thick and glossy and the sugar granules have dissolved.

Using a baking paper lined oven tray, pour the thick mixture into the centre on the tray keeping it an even 10cm high all the way round. Do not spread it too much, keep it nice and high!

Cook the pavlova for about 20 minutes in the centre of the oven (this is very important!), until a cracked crust has formed and the centre is foamy looking but remains stiff. It will expand in the oven and fall down a little once you take it out, so don't worry when you see this happen!

Once cooled, top this little beauty with whipped cream, your favourite fruits and a fruity syrup (I used apricot nectar as passionfruit is unavailable at the moment).


It should be marshmallowy in the centre and have a heavenly honeycomb texture to the crust (thanks for the adjectives Jess).


H A P P Y   B I R T H D A Y   F R A N C O!